
If you haven’t used a shrink sleeve machine in the past, the process can be a bit confusing for a newcomer. Luckily, if you have the Cooljarz SST shrink sleeve machine, the process becomes very simple!
Make Sure You Have All Your Parts

The Cooljarz shrink sleeve machine only has about 4 parts to assemble straight out of the box as well as a stand and catch basin. You should have the following:
- The SST Body Machine
- The Water Bottle Tank With Cap
- The Steam Head
- The Steam Head Nut
- SST Stand
- Catch Basin
Preparing The Shrink Sleeve Machine
Assembling your shrink sleeve machine is simple enough to have it running and ready to use in a couple minutes. Simply follow these steps:

- Step 1: Place the steam head nut onto the machine body and tighten in a clockwise motion until hand tight.

- Step 2: Loosen the set screw on the steam head then place the steam head onto the steam head nut until it sets fully onto the assembly. Then hand tighten the set screw.
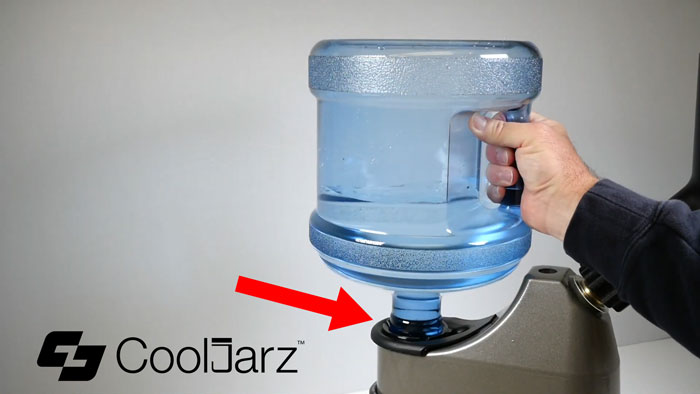
- Step 3: Remove the cap from the water bottle tank by twisting in a counter clockwise rotation. Next, fill the bottle to completion with water. The tank is about 2 gallons. Then place the cap back onto the water bottle and insert the water bottle tank into the shrink sleeve machine body.

- Step 4: Plug in your SST Shrink Sleeve Machine.
Using The SST Shrink Sleeve Machine
Once you have your Shrink Sleeve Machine fully assembled and plugged in, you can start using it to apply shrink sleeve labels. Here’s how:

- Step 1: Turn your SST Shrink Sleeve Machine On. The on switch is located on the back of the machine body.
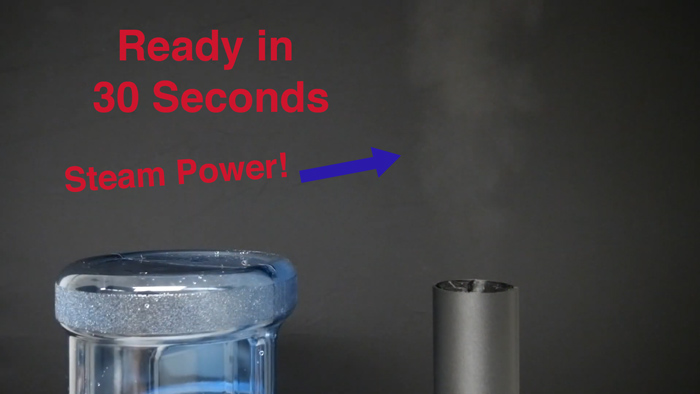
- Step 2: Wait about 30 seconds for the machine to be ready for use. Once you start seeing steam coming out of the steam head, you’ll know your shrink sleeve machine is ready. We recommend wearing gloves as the steam can get very hot.

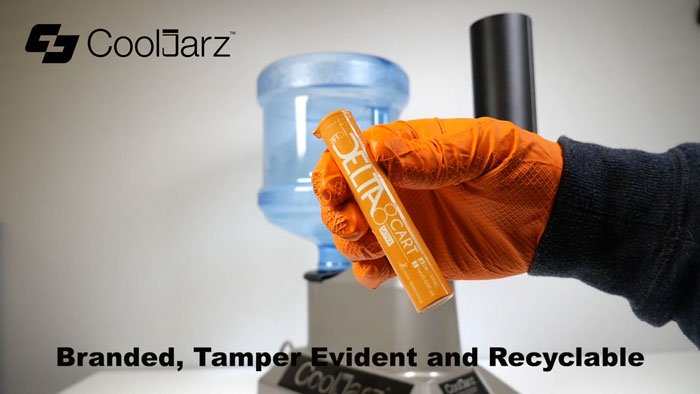
- Step 3: Place your product container within your shrink sleeve the way you want them to be wrapped.

- Step 4: Drop your container with the shrink sleeve through the top of the steam head and allow it to drop into your catch basin.
- Step 5: That’s it! Your shrink sleeve should be perfectly wrapped to your products container.
Conclusion

As you can see, with a Cooljarz SST shrink sleeve machine, applying shrink sleeve labels is a pretty fast and simple process. After your first try, I’m sure you’ll be wrapping hundreds of labels in a matter of minutes!
Don’t have a Cooljarz SST shrink sleeve machine yet? What are you waiting for? Get a shrink sleeve applicator now! Have any additional questions about our shrink sleeve machine? Contact Us! We’ll be happy to help out!
